Deploying Your Node.js Application: From Localhost to Live Server (VPS vs. PaaS)

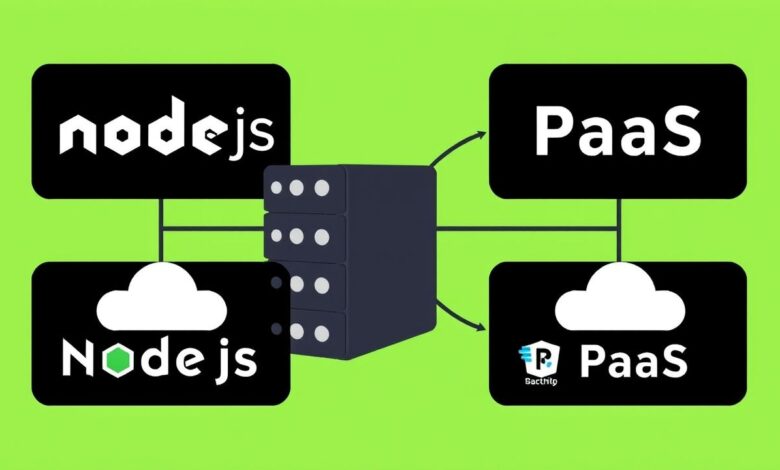
You’ve built a fantastic Node.js application on your local machine, but now comes the crucial next step: sharing it with the world. Deploying a Node.js application might seem daunting at first, but understanding the core methods makes it much more manageable. This guide will walk you through the two primary paths: manually setting up your own server (like a Virtual Private Server or VPS) and using a Platform-as-a-Service (PaaS).
Moving from `localhost:3000` to a live, publicly accessible URL is the essence of deployment. It involves getting your code onto a server connected to the internet, ensuring Node.js is installed, installing your project’s dependencies, and running the application reliably.
Understanding the Deployment Landscape
Before diving into specifics, let’s grasp the two main approaches developers take:
- Manual Server Setup (IaaS/VPS): You rent a virtual server (like a slice of a physical server) and have full control over its configuration. You are responsible for installing the operating system updates, Node.js runtime, database, web server (like Nginx), and managing security. Examples include DigitalOcean Droplets, AWS EC2, or Linode.
- Platform-as-a-Service (PaaS): These platforms abstract away the underlying infrastructure. You provide your code (often via Git), and the platform handles server provisioning, operating system management, runtime installation, scaling, and often includes features like automatic SSL certificates. Examples include Render, Vercel, Heroku, and Azure App Service.
Method 1: Manual Server Setup for Deploying Node.js Application (VPS)
This method gives you maximum control but requires more technical knowledge.
Steps Involved:
- Provision a Server: Choose a VPS provider (e.g., DigitalOcean, Linode) and select a server size and operating system (Ubuntu is very common).
- Connect via SSH: Once the server is ready, you’ll use SSH (Secure Shell) to connect to its command line from your local machine.
ssh your_username@your_server_ip - Install Node.js: You need to install the Node.js runtime. Using Node Version Manager (nvm) is highly recommended as it allows you to easily switch between Node versions.
- Install nvm (follow official instructions).
- Install the desired Node.js version: `nvm install –lts` (installs the latest Long Term Support version).
- Verify installation: `node -v` and `npm -v`.
- Get Your Code: Clone your application repository from Git (e.g., GitHub, GitLab): `git clone your_repository_url.git`.
- Install Dependencies: Navigate into your project directory (`cd your_project_directory`) and install the required packages: `npm install` (or `yarn install`).
- Configure Environment Variables: Your application likely needs environment variables (API keys, database URLs). Set these securely on the server (don’t hardcode them!).
- Run Your Application: You can initially run it directly: `node server.js` (or your entry file). However, this isn’t robust.
- Use a Process Manager: For production, use a process manager like PM2. It keeps your app running, restarts it if it crashes, handles logs, and enables clustering.
- Install PM2 globally: `npm install pm2 -g`.
- Start your app with PM2: `pm2 start server.js –name “my-app”`.
[Hint: Insert image of terminal showing PM2 starting a Node.js app]
- (Optional) Set up a Reverse Proxy: Often, you’ll set up Nginx or Apache as a reverse proxy to handle incoming HTTP requests, manage SSL certificates (HTTPS), and serve static files.
Pros & Cons of VPS:
- Pros: Full control, potentially lower cost for high resources, customizable environment.
- Cons: Requires server administration skills, responsibility for security and updates, more complex setup.
Method 2: Using Platform-as-a-Service (PaaS) for Deploying Node.js Application
PaaS providers streamline the deployment process significantly, making them very popular, especially for simpler applications or teams wanting to focus purely on code.
How PaaS Works:
Typically, you connect your Git repository (GitHub, GitLab, Bitbucket) to the PaaS platform. When you push changes to your designated branch (e.g., `main`), the platform automatically:
- Detects the Node.js project.
- Builds the application (runs `npm install`).
- Deploys the new version.
- Manages the underlying servers, scaling, and often provides HTTPS automatically.
Popular PaaS Options:
- Render: Known for its ease of use, predictable pricing, and support for web services, databases, and background workers. Great Heroku alternative.
- Vercel: Excellent for frontend frameworks but also offers robust Node.js backend deployment, known for speed and global CDN.
- Heroku: One of the original PaaS providers, still popular though its free tier has changed.
- Azure App Service / Google Cloud App Engine: Cloud provider options offering more integration with their respective ecosystems.
General PaaS Deployment Steps:
- Sign Up: Create an account on your chosen PaaS platform.
- Connect Git Repository: Authorize the platform to access your Git provider and select the repository.
- Configure Settings:
- Specify the build command (usually `npm install` or `yarn install`).
- Specify the start command (e.g., `node server.js` or `npm start`).
- Set up necessary environment variables through the platform’s dashboard.
- Deploy: Trigger the first deployment, often automatically after configuration.
Pros & Cons of PaaS:
- Pros: Simplicity, rapid deployment, managed infrastructure, automatic scaling (often), built-in HTTPS.
- Cons: Less control over the environment, can become more expensive at scale, potential vendor lock-in.
Which Deployment Method is Right for You?
Consider these factors:
- Technical Expertise: Are you comfortable managing a Linux server? If not, PaaS is likely better.
- Control Needs: Do you need fine-grained control over the server environment? Choose VPS.
- Budget: PaaS often has generous free/hobby tiers, but costs can increase with scaling. VPS costs are more predictable but require time investment for management.
- Speed and Convenience: PaaS offers significantly faster setup and deployment cycles.
Many developers start with PaaS for its ease of use and migrate to VPS later if needed for cost or control reasons. For learning more about Node.js itself, check out the basic concepts.
Conclusion
Deploying a Node.js application is a fundamental skill. Whether you choose the hands-on control of a VPS setup using tools like SSH, NVM, and PM2, or the streamlined convenience of a PaaS provider like Render or Vercel, getting your application live is achievable. Evaluate your project’s needs, your comfort level with server management, and your budget to select the best path forward. Happy deploying!


