Your Ultimate Network Connectivity Checklist: A Step-by-Step Troubleshooting Guide

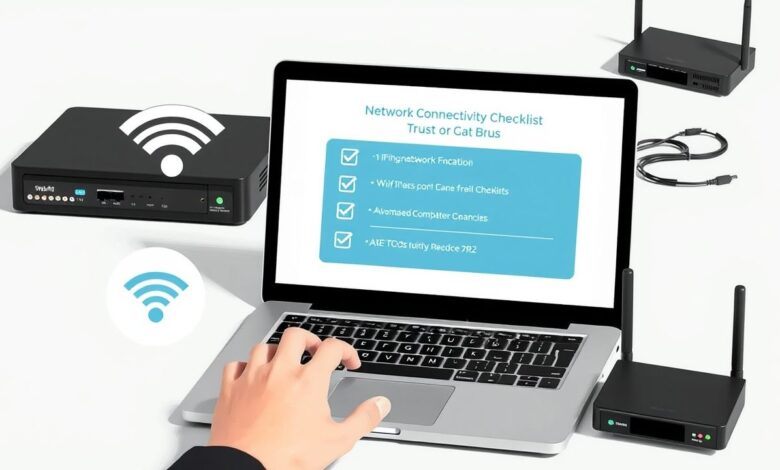
In today’s hyper-connected world, a stable network connection is less of a luxury and more of a necessity. Whether for work, education, or entertainment, network outages can bring everything to a screeching halt. When you suddenly lose internet access or can’t connect to local devices, frustration mounts quickly. But before you spend hours on hold with tech support, running through a systematic Network Connectivity Checklist can often help you identify and resolve the problem yourself. This guide provides a step-by-step approach to troubleshooting common network issues.
Understanding the core issue is the first step. Is it just one device having problems, or are all devices offline? Is the issue affecting Wi-Fi, wired connections, or both? Knowing the scope helps narrow down potential causes.
Step 1: Check the Physical Basics First
It might sound obvious, but physical connections are the most common culprits. Start with the fundamentals:
- Check Cables: Ensure all Ethernet cables are securely plugged into your modem, router, and computer (if using a wired connection). Look for damaged or frayed cables. A loose connection is often the simple fix needed. [Hint: Insert image/video showing checking cable connections on a router/modem here]
- Look at the Lights: Your modem and router have status lights (LEDs). Check the manual or manufacturer’s website to understand what the lights mean. Are the power, internet/WAN, and Wi-Fi lights lit and indicating a normal state (usually solid green or blue)? Blinking or off lights often point to specific problems.
- Power Cycle Everything: The classic “turn it off and on again” works wonders for network gear.
- Turn off your computer/device.
- Unplug the power from your router.
- Unplug the power from your modem.
- Wait about 60 seconds. This allows devices to fully reset.
- Plug the modem back in and wait for its lights to stabilize (usually 1-2 minutes).
- Plug the router back in and wait for its lights to stabilize (another 1-2 minutes).
- Turn your computer/device back on and test the connection.
Step 2: Verify Local Network Settings
If the physical checks don’t help, ensure your device is correctly configured to communicate on the network.
- Check IP Address: Your device needs a valid IP address to communicate.
- Windows: Open Command Prompt (search `cmd`) and type `ipconfig`. Look for an IPv4 address, Subnet Mask, and Default Gateway under your active network adapter (Ethernet or Wi-Fi). An address starting with “169.254.” often indicates a problem getting an IP from the router (DHCP issue).
- macOS: Go to System Settings > Network, select your active connection (Wi-Fi or Ethernet), and check the IP address details.
[Hint: Insert image showing ipconfig output]
- Run OS Troubleshooters: Both Windows and macOS have built-in network diagnostics tools. They can automatically detect and sometimes fix common configuration problems.
- Windows: Settings > Network & internet > Status > Network troubleshooter.
- macOS: System Settings > Network > Assist me… > Diagnostics.
Step 3: Testing Network Connectivity with Tools
Command-line tools can pinpoint where communication is failing. Don’t be intimidated; they are simple to use.
- Ping Test: This checks if your device can reach another device (like your router or a website).
- Open Command Prompt (Windows) or Terminal (macOS).
- Type `ping 8.8.8.8` (Google’s public DNS server) and press Enter. This tests your internet connection beyond your local network.
- Type `ping [Your Router’s IP Address]` (found as “Default Gateway” in `ipconfig`) and press Enter. This tests connectivity to your router.
- Successful pings show replies with times. “Request timed out” or “Destination host unreachable” indicates a problem.
- Traceroute (Tracert): This maps the path your data takes to reach a destination, showing each “hop” (router) along the way. It helps identify where slowdowns or connection failures occur.
- Windows: `tracert 8.8.8.8`
- macOS: `traceroute 8.8.8.8`
Interpreting these results can sometimes require research, but seeing consistent failures at a specific hop is a strong clue. For detailed guides on these tools, resources like Cloudflare’s Learning Center offer great explanations.
Step 4: DNS Check – Can You Resolve Names?
The Domain Name System (DNS) translates website names (like google.com) into IP addresses browsers can use. If DNS fails, you might be connected but unable to reach websites by name.
- Try pinging a known IP address (like `8.8.8.8`). If this works, but pinging `google.com` fails, it’s likely a DNS issue.
- You can try changing your device’s DNS settings to a public provider like Google (8.8.8.8, 8.8.4.4) or Cloudflare (1.1.1.1, 1.0.0.1) as a test.
Step 5: Updates and Interference – A Key Part of the Network Connectivity Checklist
Outdated software or physical interference can cause baffling issues.
- Update Drivers/Firmware: Ensure your computer’s network adapter drivers and your router’s firmware are up-to-date. Check the manufacturer’s websites for the latest versions.
- Check for Interference (Wi-Fi): If using Wi-Fi, other devices (microwaves, cordless phones, Bluetooth devices) or even physical obstructions (thick walls, metal objects) can interfere with the signal. Try moving closer to the router or changing the Wi-Fi channel in your router settings.
Step 6: Isolate the Problem Further
Systematically rule out possibilities:
- Try a Different Device: If another phone or computer connects fine, the problem likely lies with the original device’s settings or hardware.
- Try a Different Connection Type: If Wi-Fi isn’t working, try a wired Ethernet connection if possible (and vice-versa). This helps isolate router issues from device-specific adapter problems.
- Bypass the Router: Temporarily connect your computer directly to the modem via Ethernet (you might need to restart the modem and computer). If you get internet access this way, the router is likely the source of the problem.
For more troubleshooting tips, you might find related articles helpful, such as Optimizing Your Home Wi-Fi Network.
Step 7: When to Contact Your ISP
If you’ve run through this Network Connectivity Checklist and confirmed the issue isn’t within your home network (e.g., the modem lights indicate no internet signal, or bypassing the router still yields no connection), it’s time to contact your Internet Service Provider (ISP). There might be an outage in your area or a problem with the line coming into your home.
Network troubleshooting requires patience and a methodical approach. By following this checklist, you can systematically diagnose and often resolve connectivity problems without needing external help. Good luck!


