Navigating Server BIOS/UEFI: An Essential Guide for Beginners
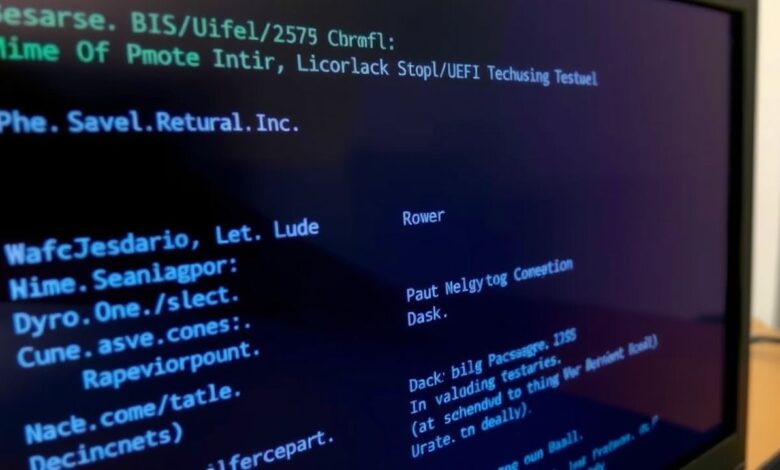
Embarking on the journey of server management brings you face-to-face with the fundamental layer of any system: the BIOS or its modern successor, UEFI. For beginners, understanding and navigating Server BIOS/UEFI: Essential Settings for Beginners is a critical first step. This firmware, pre-loaded on your server’s motherboard, is the unsung hero that initializes your hardware and launches your operating system.
While the core function is similar to desktop BIOS/UEFI, server versions often feature more robust options for hardware configuration, monitoring, and system stability. Getting comfortable in this environment is key to setting up a new server, troubleshooting issues, and ensuring optimal performance.
What is BIOS/UEFI and Why is it Important for Servers?
BIOS (Basic Input/Output System) and UEFI (Unified Extensible Firmware Interface) are firmware interfaces that act as the intermediary between your server’s hardware and its operating system. When you power on a server, the BIOS/UEFI is the first software that runs. Its primary tasks include:
- Performing a Power-On Self-Test (POST) to check hardware functionality.
- Initializing hardware components like the CPU, RAM, and storage controllers.
- Loading the bootloader, which in turn starts the operating system.
For server beginners, understanding this layer is vital because many critical configurations happen here. Incorrect settings can prevent your server from booting, recognize hardware, or even impact its stability and performance. Data integrity and uptime are paramount for servers, making correct firmware configuration non-negotiable.
Accessing Your Server’s BIOS/UEFI
Accessing the BIOS/UEFI interface is typically done immediately after powering on or restarting the server. The exact method can vary depending on the server manufacturer and motherboard model, but common approaches include:
- During Boot-Up: Watch the screen closely when the server starts. You will usually see a message indicating which key to press to enter setup or BIOS/UEFI. Common keys include
F2,Delete,F10,F12, orEsc. You may need to press the key repeatedly as soon as the system powers on. - From the Operating System (Windows): In Windows Server, you can access UEFI settings via Advanced startup options. Go to Settings > Update & Security > Recovery > Advanced startup > Restart now. After restarting, navigate through Troubleshoot > Advanced options > UEFI Firmware Settings.
Always consult your server or motherboard manual for the precise key or method specific to your hardware. Some enterprise servers might also offer remote access to BIOS/UEFI settings via a dedicated management port (like iDRAC for Dell, iLO for HP, or IPMI for others).
Essential Settings to Understand
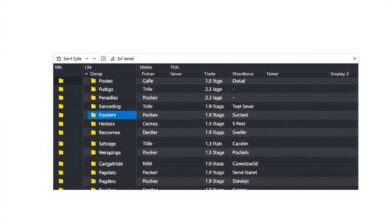
Once inside the BIOS/UEFI interface, you’ll find a wealth of options. While the layout and terminology differ between manufacturers (AMI, Award, Phoenix, Insyde are common BIOS vendors), several essential settings are universal and particularly relevant for server beginners:
Hardware Configuration
- System Information: Displays details about your installed CPU, RAM, and sometimes storage devices. Useful for verifying components are recognized correctly.
- Memory (RAM) Settings: Configure RAM frequency, timings, and enable features like XMP (Extreme Memory Profile). While XMP is more common for desktop performance tuning, ensuring RAM is running at its rated speed is important for server stability. Be cautious with aggressive settings on production servers. Learn more about memory SPD and XMP on Wikipedia.
- CPU Settings: Often includes options for virtualization technology (Intel VT-x/AMD-V), which is crucial for running virtual machines, and power management features.
Boot Options
- Boot Order: Determines the sequence of devices (hard drive, SSD, USB drive, network) the server tries to boot from. Essential when installing an operating system or booting from recovery media.
- Boot Mode (UEFI vs. Legacy/CSM): Choosing between UEFI and Legacy BIOS mode (Compatibility Support Module – CSM) is critical, especially when installing operating systems. Modern OS versions like Windows Server 2012 R2 and later, and most modern Linux distributions, are designed for UEFI, which offers advantages like faster boot times, support for larger hard drives (GPT), and enhanced security features like Secure Boot. Older OS or specific hardware might require Legacy/CSM mode. Configure this *before* OS installation.
- Secure Boot: A UEFI feature that helps prevent malicious software from loading during the boot process by ensuring only signed code is executed. Generally recommended for enhanced security.
Storage Configuration
- SATA/Storage Mode: Often allows you to switch between IDE, AHCI, or RAID modes. AHCI (Advanced Host Controller Interface) is standard for modern SSDs and hard drives, offering better performance than IDE. RAID (Redundant Array of Independent Disks) allows combining multiple drives for performance and/or data redundancy, a common requirement for servers. Configuring RAID typically involves both a BIOS setting and potentially a separate RAID controller BIOS.
Security Settings
- Setting a BIOS Password: Essential security step to prevent unauthorized access to the firmware settings. There are often separate passwords for setup entry and system boot.
- TPM (Trusted Platform Module) State: Enable or disable the TPM chip, which provides hardware-based security functions used by operating systems for features like encryption (e.g., BitLocker).
When Do You Need to Configure BIOS/UEFI?
As a beginner managing a server, you’ll likely need to interact with the BIOS/UEFI in several scenarios:
- Initial Setup: When setting up a new server or a custom-built machine, you’ll need to configure boot order, storage modes, and potentially enable virtualization features.
- Operating System Installation: Ensuring the correct Boot Mode (UEFI/Legacy) is set is crucial before installing the OS.
- Hardware Upgrades: After adding or replacing components like RAM or storage drives, you might need to check BIOS/UEFI to confirm they are recognized and configured optimally.
- Troubleshooting: If the server fails to boot or a hardware component isn’t working, checking BIOS/UEFI settings is a fundamental troubleshooting step.
- Performance Tuning: Adjusting RAM speed or enabling CPU features (with caution).
Finding Help and Further Resources
The sheer number of settings can be overwhelming. Remember these key resources:
- Server/Motherboard Manual: This is your primary source of truth. It details every setting and its function specific to your hardware.
- Manufacturer’s Website: Provides digital copies of manuals, firmware updates, and support documentation.
- Online Forums and Communities: Websites like Reddit’s r/buildapc or hardware-specific forums can offer solutions to common issues or explanations for specific settings.
While desktop and server BIOS/UEFI share similarities, server firmware often prioritizes stability and reliability over cutting-edge performance tweaks. Features like extensive overclocking options found on enthusiast desktop boards are rare or non-existent on server boards.
Next Steps After BIOS/UEFI Configuration
Once your BIOS/UEFI settings are dialed in, the next logical step is typically A Beginner’s Guide to Installing a Server Operating System. Proper BIOS/UEFI configuration ensures that the OS installation process goes smoothly and the server hardware is correctly recognized and utilized.
[Hint: Insert image showing a successful OS installation screen]Conclusion
Navigating Server BIOS/UEFI might seem daunting at first, but it’s a fundamental skill for anyone managing server hardware. By understanding how to access it, recognizing the essential settings for hardware, boot, and security, and knowing when to make adjustments, you gain significant control over your server’s foundation. Always proceed with caution, consult your documentation, and make changes one at a time to easily troubleshoot if issues arise. With practice, you’ll become comfortable using this powerful interface to ensure your server runs smoothly and reliably.
