Simplify Your Workflow: Using Git for Easy Website Deployment
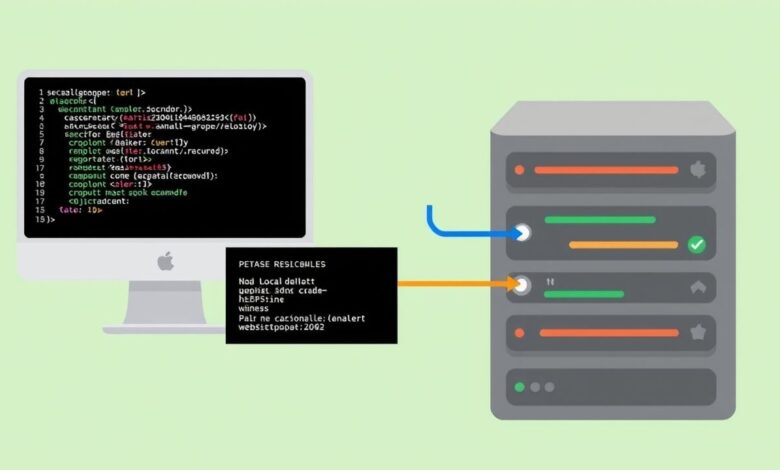
Deploying a website doesn’t have to be a complex, error-prone process involving manually dragging files via FTP. For many developers, from beginners to seasoned pros, the preferred method for pushing website updates live is using Git website deployment. It’s a version control system that offers a far more streamlined, safe, and efficient way to get your code from your local machine onto your server.
Gone are the days of forgetting which files you changed or accidentally overwriting important server configurations. Git provides a clear history of every change, makes collaboration simpler, and significantly reduces the stress associated with updates. Let’s dive into why and how you can leverage Git for your simple website deployments.
Why Choose Git for Website Deployment?
Traditional methods like FTP (File Transfer Protocol) involve manually transferring files. While simple for tiny sites, this quickly becomes cumbersome and risky as projects grow. You lack version control, making rollbacks difficult, and collaboration is a nightmare. Tools like rsync offer improvements but still involve manual syncing.
Using Git for deployment integrates your version control workflow directly with your publishing process. This means:
- Version Control: Every deployment is a tagged commit, allowing for instant rollbacks if something goes wrong.
- Atomic Deploys: With certain methods (like Git hooks), you can ensure that either the entire new version is deployed successfully, or the old one remains, avoiding broken states.
- Collaboration: If working with others, Git handles merging changes before deployment.
- Efficiency: Push changes with a single command instead of managing individual files.
- Automation: Git hooks allow you to automate tasks that run after a successful push, like updating dependencies or clearing caches.
Prerequisites for Git Website Deployment
To get started with Git-based deployment, you’ll need a few things set up:
- Git Installed: Git must be installed on both your local development machine and your server.
- SSH Access: Secure Shell (SSH) is the standard secure way to connect to your server. You’ll need SSH access.
- SSH Keys: For secure and passwordless connections, especially for automation, setting up SSH keys between your local machine and the server is crucial. This eliminates the need to type a password every time you push or pull.
[Hint: Insert image/video illustrating SSH key setup] - Your Project in a Git Repository: Your website code needs to be tracked in a Git repository (e.g., on GitHub, GitLab, Bitbucket, or a self-hosted solution).
Understanding SSH keys is foundational for secure server management, not just Git deployment. Learn more about them here: Why You Need SSH Keys and How to Set Them Up.
Simple Git Deployment Strategies
There isn’t just one way to use Git for deployment. Here are two relatively simple strategies:
Method 1: Basic Git Pull on the Server
This is perhaps the most straightforward method and works well for very simple sites or smaller projects where full automation isn’t critical. The idea is that your web server serves files directly from a Git repository clone on the server.
Here’s the basic workflow:
- On your local machine, commit your changes:
git commit -am "My latest updates" - Push your changes to your remote repository (e.g., GitHub):
git push origin main(or your branch name) - Connect to your server via SSH.
- Navigate to the directory where your website code is located (this is the Git repository clone).
- Pull the latest changes from your remote repository:
git pull origin main
The server pulls the latest commit, updating the files in the webroot. While simple, this method requires you to manually log into the server and run `git pull` for each deployment. It also means the `.git` directory is present in your webroot, which can pose security risks if not properly secured by your web server configuration.
Method 2: Using a Bare Repository and a Post-Receive Hook
This method is a step up in automation and security. It involves pushing your code to a “bare” Git repository on your server (a repository without a working directory) and using a Git hook to automatically checkout the latest code into your website’s public directory.
Here’s the general setup:
- Create a bare repository on your server: SSH into your server and create a bare repo outside your public web directory. For example:
mkdir /path/to/repos/mywebsite.git && cd /path/to/repos/mywebsite.git && git init --bare - Set up a post-receive hook: Navigate to the
hooksdirectory inside your bare repository (e.g.,/path/to/repos/mywebsite.git/hooks/). Create or edit a file namedpost-receiveand make it executable (chmod +x post-receive). - Add deployment script to the hook: The
post-receivefile is a script that runs automatically after a successful push to this bare repo. Add commands to checkout the latest commit into your webroot. A simple script might look like this:#!/bin/sh GIT_WORK_TREE=/path/to/your/webroot git checkout -fReplace
/path/to/your/webrootwith the actual path your web server uses (e.g.,/var/www/html). TheGIT_WORK_TREEenvironment variable tells Git where the working directory is.git checkout -fchecks out the latest commit into that directory, overwriting existing files if necessary. - Add the bare repository as a remote on your local machine: In your local project directory, add the bare server repo as a new remote:
git remote add production ssh://user@your_server_ip:/path/to/repos/mywebsite.git(Replaceuser,your_server_ip, and the path accordingly).
Now, when you want to deploy, you simply push to your ‘production’ remote from your local machine:
git push production main
Git pushes your changes to the bare repository on the server, the post-receive hook automatically triggers, and the latest version of your code is checked out into your webroot. This method keeps the Git repository files (`.git`) out of your public web directory and automates the checkout process.
Hosting Compatibility
The feasibility of these methods depends on your hosting environment:
- Shared Hosting: May have limitations. You might not have SSH access, root privileges, or the ability to run custom Git hooks. Basic `git pull` might be possible if SSH is available and Git is installed, but it’s less common and potentially less secure due to the visible `.git` folder.
- VPS (Virtual Private Server) / Dedicated Server: You have full control, making either of the simple methods (and more advanced ones like CI/CD) easily implementable. You can install Git, configure SSH keys, and set up bare repositories and hooks without restrictions.
Moving Beyond Simple Deployment
While `git pull` or simple bare repo hooks are great starting points, real-world applications often require more. CI/CD (Continuous Integration/Continuous Deployment) pipelines integrate Git with automated testing, building, and staged rollouts using tools like GitHub Actions, GitLab CI, Jenkins, etc. This represents the next level of deployment automation, but the simple methods provide a solid foundation.
Conclusion
Adopting Git website deployment significantly improves your workflow, making updates faster, safer, and more reliable than manual file transfers. Whether you start with a basic `git pull` on your server or set up a simple bare repository with a `post-receive` hook, you’ll gain version control benefits and move towards a more modern development practice. This approach is widely used by experienced developers for a reason – it streamlines the path from code change to live website.
