Choosing Your Domain & Pointing it to Your Server IP: A Step-by-Step Guide
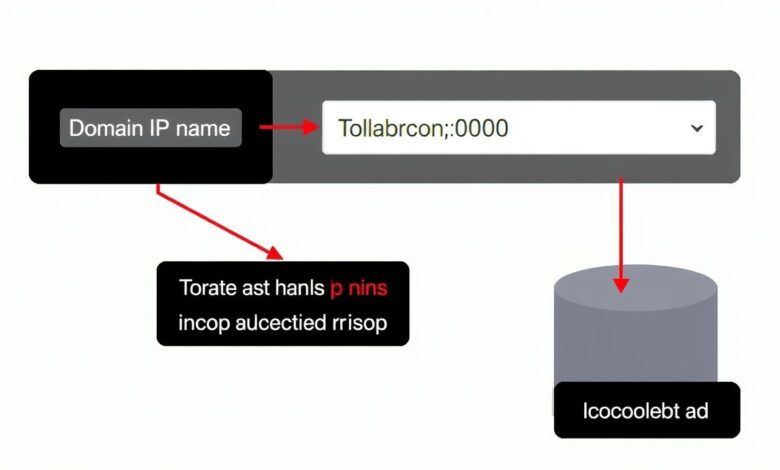
Launching a website involves several crucial steps, but two fundamental ones are choosing the perfect domain name and correctly setting it up to direct visitors to your web server. Getting this right ensures your online presence starts strong. This guide will walk you through selecting a memorable domain and the technical process to point domain name to server IP, making your site accessible to the world.
Why Your Domain Name Matters
Your domain name is more than just an address; it’s a core part of your brand identity online. It’s often the first impression potential visitors have. A good domain name should be:
- Memorable: Easy to recall and type.
- Relevant: Reflects your brand, business, or content.
- Concise: Shorter domains are generally better.
- Brandable: Unique and catchy, setting you apart.
- Easy to Pronounce and Spell: Avoid hyphens or numbers if possible, as they can cause confusion.
Consider the Top-Level Domain (TLD) as well. While .com is the most common and often preferred, other TLDs like .org, .net, .co, or newer niche TLDs (.io, .ai, .store) might be suitable depending on your purpose. Always check if the domain name and related social media handles are available before registering.
[Hint: Insert image comparing good vs. bad domain name examples here]Understanding the Connection: Domains, DNS, and IP Addresses
Before diving into the setup, let’s clarify the key components. Think of the internet like a giant city:
- Domain Name (e.g., www.yourwebsite.com): This is the user-friendly street address people use.
- IP Address (e.g., 192.168.1.1): This is the precise GPS coordinate (numerical address) of the server where your website’s files reside. Computers use these numbers to locate servers.
- DNS (Domain Name System): This acts like the city’s directory or phone book. It translates the easy-to-remember domain name into the numerical IP address that computers understand.
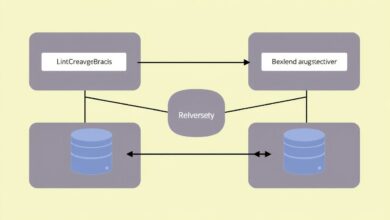
When someone types your domain name into their browser, the browser queries the DNS system to find the corresponding IP address. Once found, the browser connects to that server IP address to load your website. Therefore, configuring your DNS settings correctly is essential to point domain name to server IP.
How to Point Domain Name to Server IP: The Core Methods
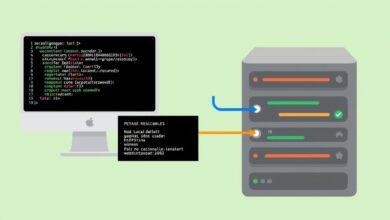
The process of connecting your domain name to your server’s IP address happens within your domain registrar’s control panel (where you bought the domain). There are two primary methods:
Method 1: Using A Records
An ‘A’ Record (Address Record) directly maps your domain name (or a subdomain like ‘blog.yourwebsite.com’) to a specific IPv4 address. This method is common if you have a dedicated server, a Virtual Private Server (VPS), or hosting that provides you with a static IP address, and you want to manage your DNS settings through your domain registrar.
Steps (General Guide):
- Log in to your domain registrar account.
- Navigate to the DNS management or domain settings section.
- Look for options like ‘Manage DNS Records’, ‘Advanced DNS’, or similar.
- You’ll typically want to modify or create two ‘A’ records:
- One for the root domain (often represented by ‘@’ or left blank) pointing to your server IP.
- One for the ‘www’ subdomain (host name ‘www’) also pointing to your server IP.
- Enter your server’s IP address in the ‘Value’ or ‘Points to’ field for each A record.
- Set the TTL (Time To Live) – often a default value like 1 hour or 3600 seconds is fine initially.
- Save your changes.
Method 2: Changing Nameservers
This is the most common method when your website hosting is provided by a different company than your domain registrar. Instead of managing individual records (like A records) at the registrar, you delegate the entire DNS management responsibility to your hosting provider.
Your hosting provider will give you at least two nameserver addresses (e.g., `ns1.hostingcompany.com`, `ns2.hostingcompany.com`). You update these in your domain registrar’s settings.
Steps (General Guide):
- Log in to your domain registrar account.
- Find the ‘Nameservers’ or ‘Manage Nameservers’ section for your domain.
- Select the option to use ‘Custom Nameservers’ (not the default registrar nameservers).
- Enter the nameserver addresses provided by your hosting company. Make sure to enter at least two.
- Save your changes.
Once you change nameservers, your hosting provider takes control of all DNS records (including the necessary A records) to ensure your domain points to their hosting environment.
Understanding DNS Propagation
After you make changes to your DNS settings (either A records or nameservers), these changes need to update across the global DNS system. This process is called DNS propagation and is not instantaneous. It can take anywhere from a few minutes to 48 hours, though it’s often much faster.
During propagation, some visitors might see your old site (or an error), while others see the new site, depending on their location and ISP’s DNS cache. Be patient during this period. You can use online tools like DNS checker websites to monitor the propagation status across different locations.
For more information on the global coordination of the DNS, you can visit the ICANN website.
Troubleshooting Common Issues
If your website isn’t loading after pointing the domain, check these common culprits:
- Typos: Double-check the IP address or nameserver entries for errors.
- Propagation Time: Wait sufficient time (up to 48 hours) for changes to fully propagate.
- Incorrect Records: Ensure you’ve configured the correct type of record (usually ‘A’ for IP pointing).
- Hosting Configuration: Confirm your hosting account is set up to recognize the domain name.
- Check an internal resource: For related setup guides, see our other articles.
Conclusion
Choosing a great domain name and correctly configuring it to point domain name to server IP are essential first steps for establishing your online presence. By understanding DNS basics and following the steps for either A Record or Nameserver configuration, you can successfully connect your chosen domain to your website’s hosting server. While DNS changes require some patience for propagation, getting this technical step right ensures visitors can easily find and access your site.

