Master Archiving and Compressing Files in Linux: The Power of Tar, Gzip, and Zip
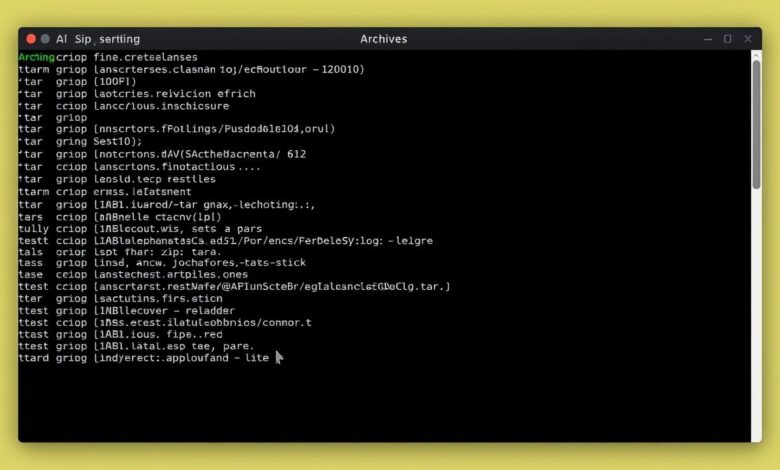
Working efficiently on a Linux system often involves managing numerous files and directories. Whether you’re backing up data, transferring files over a network, or simply trying to save disk space, understanding how archiving and compressing files Linux works is crucial. The command line offers powerful tools for these tasks, primarily revolving around `tar`, `gzip`, and `zip`. Mastering these utilities can significantly streamline your workflow and make file management a breeze.
At its core, archiving bundles multiple files and directories into a single file, making them easier to handle. Compression, on the other hand, reduces the size of files, saving storage space and speeding up transfers. Often, these two processes go hand-in-hand in the Linux world.
What is Archiving? The Role of `tar`
The `tar` command, short for Tape Archive, is the cornerstone of archiving and compressing files Linux. Its primary function is to group multiple files and directories into one single archive file, often referred to as a “tarball”. It’s important to understand that `tar` by itself *does not compress* the files; it merely collects them together, preserving file permissions and directory structures.
Think of it like putting multiple items into a single box before shipping. The box (the tarball) makes handling easier, but the items inside still take up their original space.
Creating Archives with `tar`
To create a basic archive, you use the `tar` command with specific options. The most common are:
c: Create a new archive.v: Verbose mode – lists the files being processed. This is helpful for tracking progress.f: Specifies the filename of the archive to be created or extracted. This option *must* be followed immediately by the archive name.
For example, to archive a directory named `my_project` into a file called `project_archive.tar`, you would run:
tar -cvf project_archive.tar my_project/
Listing Archive Contents
Before extracting, you might want to see what’s inside an archive. The `t` option (list) is used for this:
tar -tvf project_archive.tar
This will display the contents, including permissions, ownership, size, and modification dates, without extracting anything.
Extracting Files from an Archive
To get your files back out of the tarball, you use the `x` option (extract):
tar -xvf project_archive.tar
This will extract the contents into the current directory. You can also extract specific files or directories by adding their names after the archive filename.
Adding Compression: Saving Space and Time
While `tar` is great for bundling files, the real magic for saving space comes when you combine it with compression utilities. This is where tools like `gzip` and `bzip2` enter the picture, making archiving and compressing files Linux truly efficient.
`gzip`: The Common Standard
`gzip` is the most widely used compression utility on Linux. It offers a good balance between compression speed and the resulting file size reduction. When `tar` is used with `gzip`, the resulting files typically have the extension `.tar.gz` or `.tgz`.
Conveniently, `tar` has built-in options to handle `gzip` compression directly:
z: Filter the archive through `gzip` (compress or decompress).
To create a *compressed* archive using `tar` and `gzip`:
tar -czvf project_archive.tar.gz my_project/
To extract a `gzip`-compressed archive:
tar -xzvf project_archive.tar.gz
You can also compress single files using the standalone `gzip` command (e.g., `gzip my_document.txt`), which creates `my_document.txt.gz`. To decompress, use `gunzip` (e.g., `gunzip my_document.txt.gz`). However, `gzip` itself doesn’t archive multiple files, making the `tar -czvf` combination more versatile for directories.
`bzip2`: Higher Compression Ratios
For situations where maximum compression is desired (and you don’t mind slightly longer processing times), `bzip2` is an excellent alternative. It generally achieves better compression than `gzip`, resulting in smaller files. Archives compressed with `bzip2` usually have the extension `.tar.bz2` or `.tbz2`.
Similar to `gzip`, `tar` can handle `bzip2` directly:
j: Filter the archive through `bzip2`.
To create a `bzip2`-compressed archive:
tar -cjvf project_archive.tar.bz2 my_project/
To extract a `bzip2`-compressed archive:
tar -xjvf project_archive.tar.bz2
Like `gzip`, there’s a standalone `bzip2` command and its decompressor `bunzip2`.
The `zip` Utility: An All-in-One Alternative
While `tar` combined with `gzip` or `bzip2` is the traditional Unix/Linux way, the `zip` utility offers another approach to archiving and compressing files Linux. Unlike `tar`, `zip` performs both archiving and compression in a single step. Its main advantage is widespread compatibility, especially with Windows and macOS systems, which have built-in support for the `.zip` format.
To create a zip archive:
zip -r my_archive.zip my_directory/ file1.txt
(The `-r` option is used to recursively include directory contents).
To extract a zip archive:
unzip my_archive.zip
While convenient, `zip` might not always preserve Linux-specific file permissions as faithfully as `tar` does.
Why Master Archiving and Compressing Files Linux?
Understanding these tools is more than just an academic exercise. It provides tangible benefits:
- Disk Space Savings: Compression significantly reduces the storage footprint of large files or directories.
- Faster File Transfers: Smaller files take less time to upload, download, or copy across networks.
- Efficient Backups: Bundling files into a single archive simplifies the backup process.
- Organization: Grouping related project files or log files into archives keeps your file system tidy.
- Software Distribution: Source code for software is often distributed as `.tar.gz` or `.tar.bz2` archives.
For more in-depth details on the `tar` command options, you can always consult the official GNU Tar manual.
Practical Tips
- Use Verbose Mode (`v`): Especially with large archives, seeing the files being processed provides useful feedback.
- Test Archives (`t`): Before deleting original files, use the `t` option (`tar -tvf` or `tar -tzvf` or `tar -tjvf`) to ensure the archive isn’t corrupted.
- Choose the Right Tool: Use `tar` with `gzip` (`.tar.gz`) for general Linux use and good compression/speed balance. Use `tar` with `bzip2` (`.tar.bz2`) when maximum compression is needed. Use `zip` (`.zip`) when cross-platform compatibility (especially with Windows) is the priority.
- Explore More Options: `tar` has many other options, like excluding files (`–exclude`), appending to archives (`r`), or updating archives (`u`).
Learning the ins and outs of archiving and compressing files Linux using `tar`, `gzip`, and `zip` is a fundamental skill for any Linux user, administrator, or developer. It empowers you to manage files effectively, save resources, and streamline common tasks. For further learning, consider exploring basic Linux command line operations.

