Your First Steps: Setting up Remote Desktop Services (RDS) Basics for Beginners
Are you new to the world of remote access and wondering how businesses provide seamless desktop or application experiences to users anywhere? Microsoft’s Remote Desktop Services (RDS) is often the answer. This guide focuses on setting up Remote Desktop Services basics, providing a foundational understanding for beginners looking to explore this powerful technology.
RDS allows users to connect to virtualized desktops, session-based desktops, and RemoteApp programs hosted on central servers. Think of it as building your own private cloud for desktops and apps within your organization’s network. Let’s dive into the fundamentals.
What Exactly is Remote Desktop Services (RDS)?
Remote Desktop Services is a collection of roles within Windows Server that creates an infrastructure to enable users to connect to company resources remotely. Instead of installing an application on every single user’s computer, you can install it once on an RDS server (specifically, a Session Host) and publish it. Users then connect over the network (or internet, with the right configuration) to run the application or access a full desktop environment hosted on the server.
This centralization simplifies management, enhances security, and provides a consistent user experience regardless of the user’s device.
Why Consider Setting up Remote Desktop Services?
Businesses opt for RDS for several compelling reasons:
- Centralized Management: Manage applications and desktops from a single point, simplifying updates and troubleshooting.
- Enhanced Security: Data stays within the secure network perimeter, as only screen pixels, keyboard strokes, and mouse movements travel over the network.
- Remote Access: Enables employees to work from anywhere with an internet connection, accessing their work environment securely.
- Application Compatibility: Run legacy applications on newer operating systems or devices that might not natively support them.
- Cost Savings: Potentially extend the life of older client hardware, as the heavy lifting is done by the server.
Key Components in Setting up Remote Desktop Services
A typical RDS deployment involves several server roles working together. For beginners, understanding these core roles is crucial:
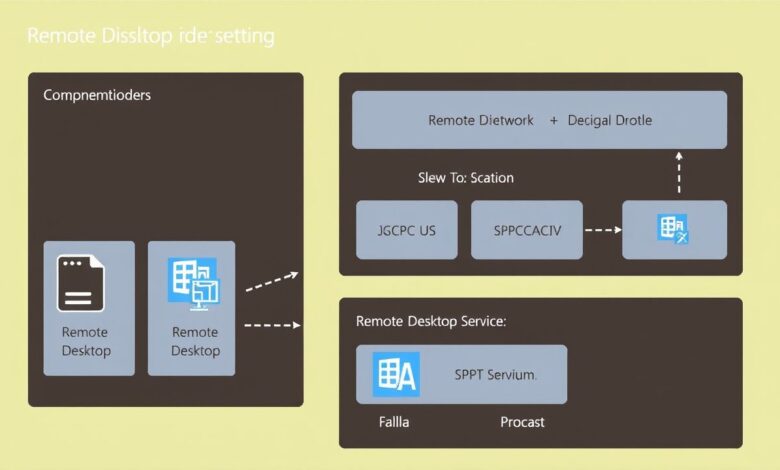
[Hint: Insert image/video of a basic RDS architecture diagram here]- RD Connection Broker: The traffic cop of the deployment. It manages user connections, distributes the load across available servers (Session Hosts), and reconnects users to their existing sessions.
- RD Session Host (RDSH): This is the server that actually hosts the Windows desktops and applications (RemoteApps) shared with users. You can have multiple Session Hosts for scalability.
- RD Web Access (RDWeb): Provides users with a web portal where they can see and launch their available RemoteApps and desktops directly from a browser.
- RD Gateway (RDG): Crucial for secure external access. It allows users outside the corporate network (e.g., working from home) to connect to internal RDS resources over HTTPS without needing a VPN connection.
- RD Licensing: Manages the licenses (RDS CALs – Client Access Licenses) required for users or devices connecting to the RD Session Hosts. This role is mandatory after an initial grace period.
A High-Level Overview of the Setup Process
While a full production deployment involves careful planning and potentially multiple servers, setting up Remote Desktop Services typically follows these general phases, often managed through Windows Server’s Server Manager dashboard:
[Hint: Insert image/video of Server Manager Dashboard showing RDS roles here]- Infrastructure Preparation: Ensure you have the necessary Windows Server machines (virtual or physical), ideally joined to an Active Directory domain. Plan your server roles – will you combine roles on one server (for testing/small setups) or distribute them?
- Install RDS Roles: Use Server Manager’s “Add Roles and Features” wizard. You can choose a “Standard Deployment” for flexibility or “Quick Start” for a simplified setup on a single machine (often suitable for testing). Select the roles you need (e.g., Connection Broker, Web Access, Session Host).
- Configure Licensing: Install the RD Licensing role, activate the license server, and install your purchased RDS CALs. Point your deployment to this license server via Server Manager.
- Configure RD Gateway (Optional but Recommended for External Access): Install the RD Gateway role. Configure connection authorization policies (CAPs) and resource authorization policies (RAPs) to control who can connect and to what resources. Obtain and install an SSL certificate for secure connections.
- Configure RD Web Access: Install the role and configure it, usually involving setting up an SSL certificate as well for secure browser access.
- Create Session Collections: A collection groups RD Session Host servers and defines the resources (desktops or RemoteApps) available to specific user groups.
- Publish RemoteApps (Optional): If using applications rather than full desktops, publish them through the Session Collection properties.
- Testing: Test connections internally and externally (if using RD Gateway) via the RD Web Access portal or using the Remote Desktop Connection client (mstsc.exe).
Important Considerations
Before diving deep into setting up Remote Desktop Services, keep these points in mind:
- Licensing: RDS requires specific Client Access Licenses (CALs), either Per User or Per Device. Understand the Microsoft RDS CAL requirements to ensure compliance.
- Security: Pay close attention to securing your RD Gateway if allowing external access. Use strong passwords, Multi-Factor Authentication (MFA), Network Policy Server (NPS), and keep systems patched.
- Performance: Resource planning (CPU, RAM, network bandwidth) is critical for a good user experience, especially as the number of concurrent users grows.
- High Availability: For production environments, consider redundancy for roles like the Connection Broker and Gateway. Learn more about advanced RDS configurations for high availability.
Conclusion
Setting up Remote Desktop Services offers a robust solution for centralizing and delivering desktops and applications. While the initial setup involves several components and steps, understanding the basic roles and deployment process provides a solid foundation. Starting with a simple deployment, perhaps using the Quick Start option for testing, can be a great way to familiarize yourself with the technology before tackling more complex, production-ready environments. Remember to consult official Microsoft documentation for detailed, version-specific guidance as you progress.